

A Text File Viewer in PyQt Part 1

This series of articles forms an introductory PyQt tutorial but instead of a series of abstract facts and code snippets I’ll dive straight in to building a simple but complete desktop application. The purpose of the application will be to open a file and display its contents including non-printable characters which will be shown as the ASCII code plus a textual description, for example “9 horizontal tab”.
If you have written code which writes to files you’ll know that it can be tedious to test and debug as it’s not easy to eyeball the exact contents of the file. This application is all about accessing individual bytes of any file which is very useful in situations such as this.
In Part 1 we’ll write code to create and show a window with a menu and toolbar. It will also have a label widget and short placeholder functions to populate the widget with appropriate text when the user selects a menu or toolbar item. This might not sound much but PyQt programming consists primarily of creating widgets, handling events and getting/setting widget properties. The core principles demonstrated in this application can therefore be built upon to create software as complex as you need.
What Exactly is PyQt?
PyQt is a Python wrapper for the Qt (”cute”, as in Golden Retriever puppy) cross-platform GUI framework. Qt is written in and used with the C++ language but there are a few bindings for other languages, including PyQt. The framework consists primarily of class libraries for creating all the parts of a desktop application: the window itself, menus and toolbars as mentioned above, and a huge range of other widgest such as buttons and listboxes. There are also classes for non-GUI functionality such as database access.
PyQt can be “pipped” like this:
pip install pyqt6
(At the time of writing the current version is 6.9.1.)
If you have done any programming with Tkinter you will find PyQt to be in a whole different league although it isn’t more difficult to code like-for-like functionality. If you have used WinForms of WPF for windows applications then you will probably find PyQt to be more restrictive but it is still possible to develop complex and professional software.
The Project
This project consists of a single Python file, pqtfv01.py, and two small graphics files for the toolbar buttons. You can clone or downloaded them from the GitHub repository which will be used for all of the files in this series.
This project will be entirely object-oriented so it would be useful to understand the basics of Python classes but you should be able to follow along if you’re not yet up to speed on this topic.
The Code
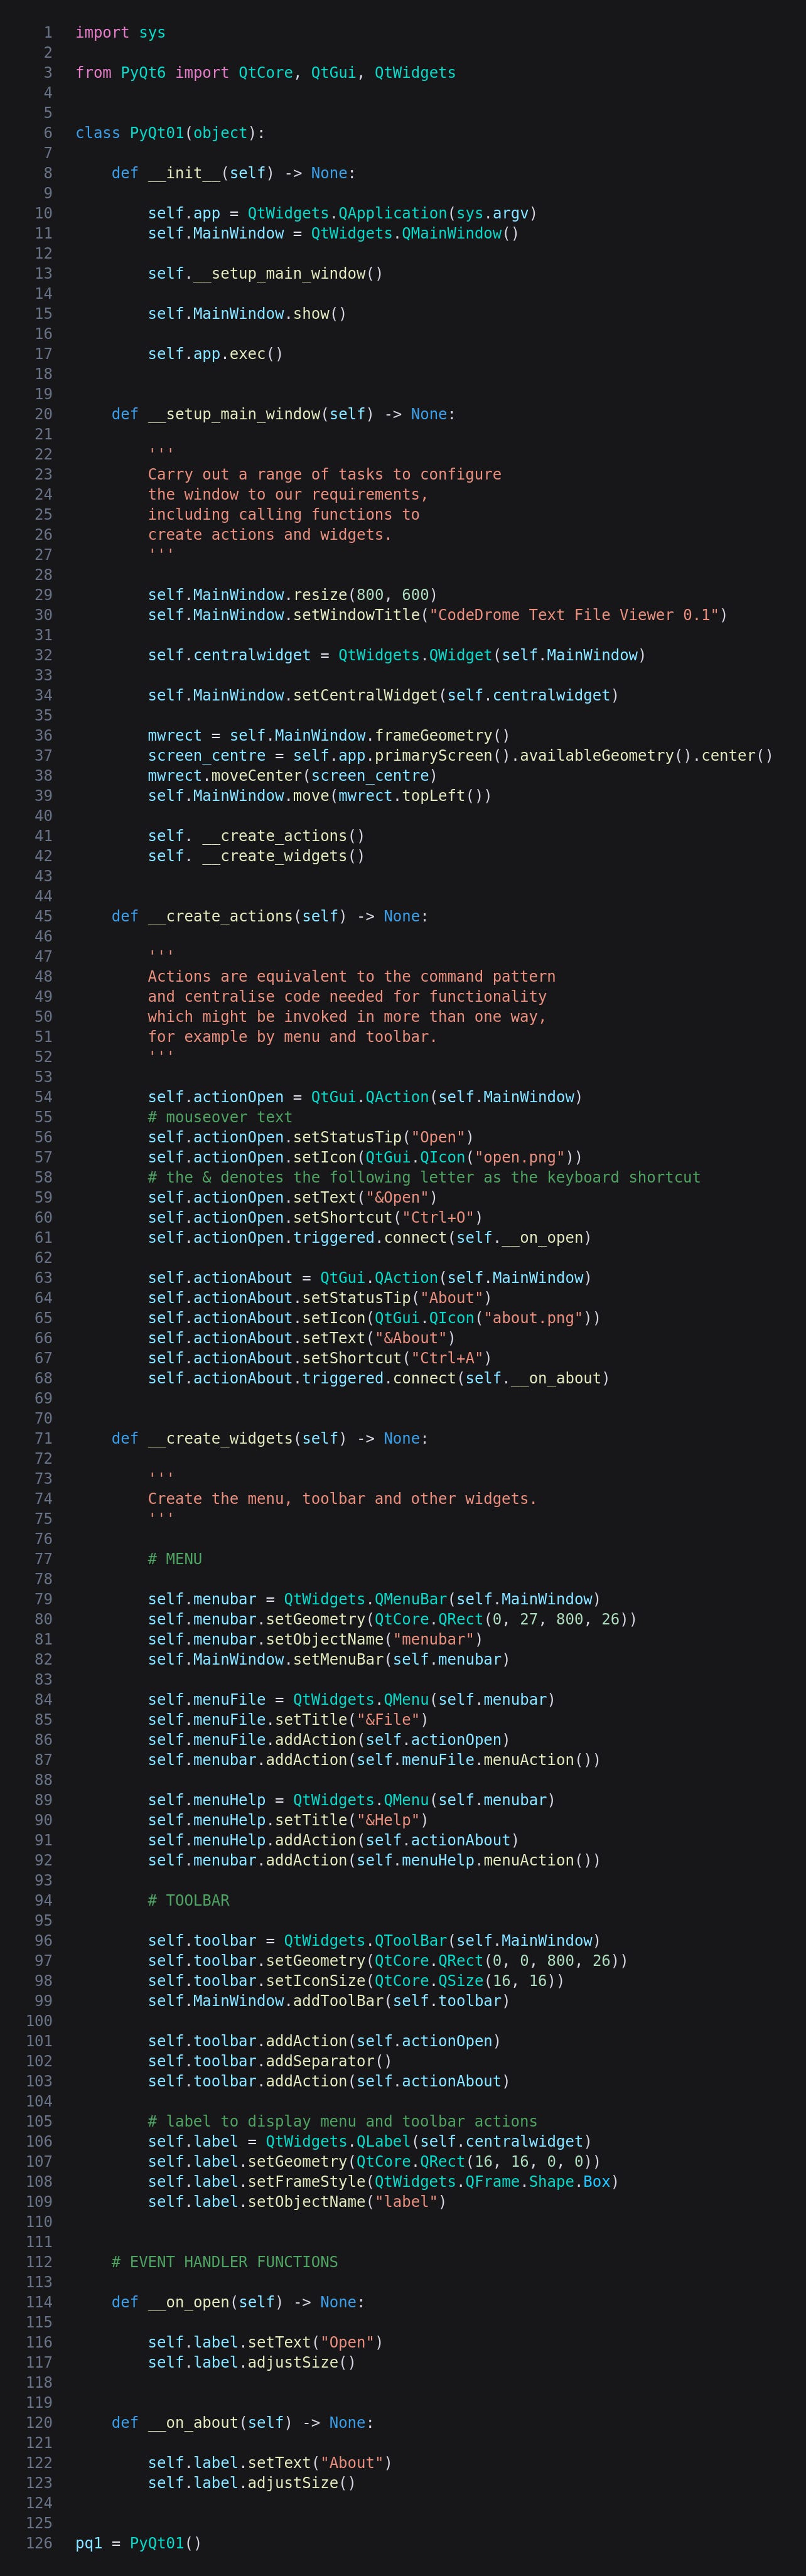
This is the entire pqtfv01.py file.
Imports
PyQt consists of a number of modules and here I have imported the ones needed for this application.
__init__
All of the code so far lives in a class called PyQt01 which will contain only GUI specific code; the complete application will have further classes. In __init__ we create QApplication and QMainWindow objects as class properties - note that the application and its window are separate objects - and then call a function called __setup_main_window to customise various aspects of the window to our requirements. Finally we show() the window and exec() the application.
__setup_main_window
The first two lines are self-explanatory: they set the width/height of the window and its title. The next two lines aren’t so straightforward. The main window consists of every part of the application we see including the border and title bar and within this we need to create a widget which is entirely ours to do what we like with. This is the centralwidget which is created and then set on the main window with the setCentralWidget method.
The next four lines of code centre the main window in the screen. If you think this is way too complicated then I agree with you. You might want to just accept that it works without trying to dissect it but if you’re interested these are the steps.
Get an object describing the size and position of the main window
Get the screen, get its geometry (ie rectangle) and then get the center of that rectangle which is the middle of the screen.
Move our window’s bottom right corner to the centre point identified in the previous step. This is obviously not what we want so...
...move the window up to the top left
Finally we call functions to create actions and widgets which are described next.
__create_actions
There are currently four ways to invoke each of the two commands, for example to open a file the user can:
Click File | Open
Type Alt | F | O
Type Ctrl + O
Click the file open icon on the toolbar.
Coding these separately would be tedious, error-prone and difficult to maintain so PyQt provides us with an implementation of the command design pattern which they term action and implement as the QAction class*. These allow us to consolidate the common features of each command into a single object which can be used in several places.
* The command pattern is one of the patterns included in the 1994 book Design Patterns. Many of them were and remain controversial but the command pattern is one of the most useful and widely used. Some of the Qt/PyQt terminology is unconventional, this being an example.
After creating each QAction as a class property we set the following:
status tip: the text which pops up when you mouseover the item
icon: the name of a graphics file
text: as shown in the menu - the letter after & is the one to type after Alt
shortcut: the Ctrl + letter which is separate from but usually the same as the &... character in the text property
event handler: a function to call when the user invokes the action in any way
__create_widgets
This is the most interesting part of the code as it’s where we create the widgets which the user sees and interacts with. It’s worth studying this function carefully as the techniques are common to creating and setting up any type of widget.
For the menu a QtWidgets.QMenuBar is created as part of the main window, its geometry (ie position and size) and name are set, and it is set as the main window’s menu bar.
The next two blocks of four lines are basically the same but one is for the File menu item and the other is for the Help item. In each case a QtWidgets.QMenu object is created and its title set. The third lines are interesting: we add one of the QtGui.QActions created earlier and in a single line give the menu item all of the action’s properties. The final lines add actions to the top-level menu bar. These aren’t actions we have created but ones provided by QMenu and which basically just show the child items.
There are some obvious similarities between the menu and toolbar creation code although the toolbar is simpler as there is no hierarchical structure. The first four lines create a QtWidgets.QToolBar, set its size/position and its icon size, and attach it to the main window. Then we just add the two actions with a separator between which is just a vertical line.
The last five lines of __create_widgets are the most important in the whole file for anyone learning PyQt. I mentioned earlier that the central widget is ours to do whatever we want with. Here we get to choose which widgets we need, where to put them, what they look like and what they contain. A label, is the simplest widget there is and just displays a non-user-editable string but once you have grasped these five lines the same principle can be used for any of the large selection of widgets PyQt offers us. Obviously setting up and interacting with other types of widget can be a lot more complex but the principles are the same: create the widget and get/set its properties.
After creating a shiny new QtWidgets.QLabel we set its geometry in a way you are now familiar with; the size is 0,0 which effectively makes it invisible. Later we’ll set its size to fit the contents. The frame style is set to one which gives it a border which is purely an aesthetic choice of course. I have given the widgets names which aren’t used here but it’s good practice to do so as you might need them as your project grows in complexity.
A Note on Visual Studio Code and Pylance
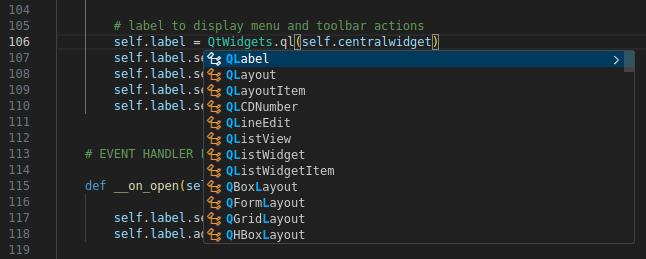
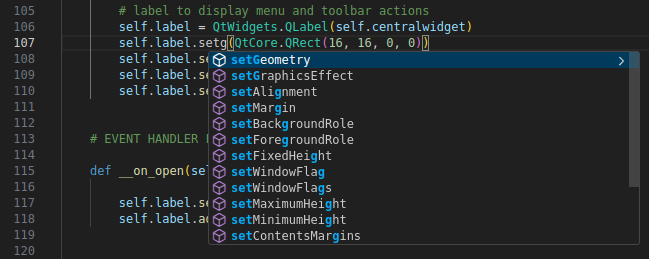
If you use Visual Studio Code for your Python coding you probably have the Pylance extension. This knows all about PyQt so if you type a dot after a module, class or object name you’ll see a dropdown of its members as illustrated below. I believe PyCharm does something similar so if you are a PyCharm user please let me know.
__on_open and __on_about
These two functions which you met while creating actions serve as placeholders for the up and coming functionality. For the time being they just output strings on the label widgets and adjust the label size to fit the string. As you can see this is done by calling methods on the label object, something we’ll do a lot of in PyQt programming.
Creating the PyQt01 Instance
All of the application’s code is contained within the PyQt01 class so all we need to do is create an instance of that class which is done in the final line.
Running the Program
Now let’s run the program with this terminal command.
python3 pqtfv01.py
This is the window running on Linux Mint with the Cinnamon desktop. As the appearance is OS dependent yours might look slightly different but will work in the same way.
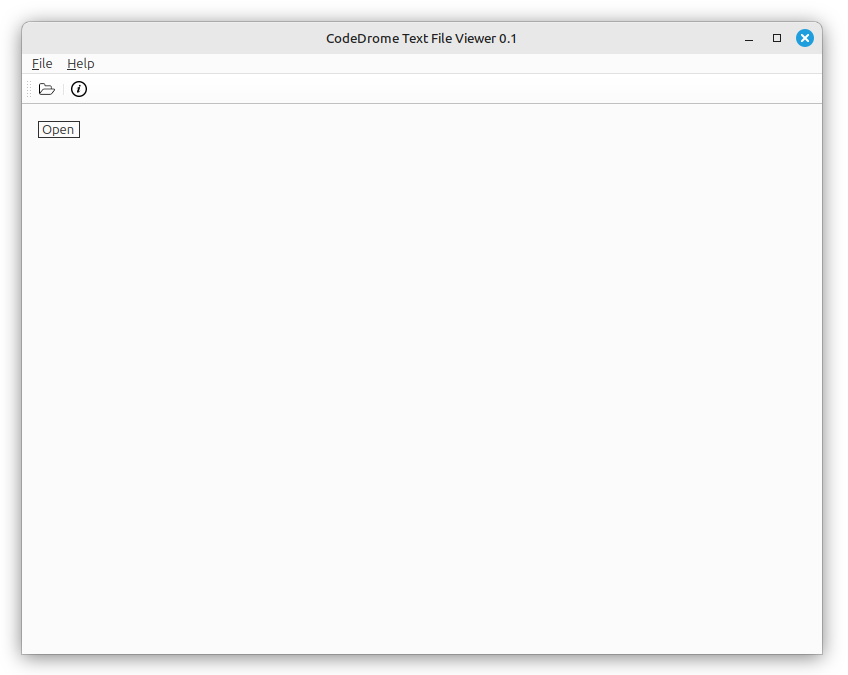
Try invoking either of the actions via the menu, toolbar or keyboard shortcuts and you’ll see the action name displayed in the label widget.
If you have never created a desktop application before then I hope running this little piece of code gives you a sense of achievement and an insight into how it is done. In Part 2 we’ll extend the event handlers to show a file dialog and about box using the appropriate PyQt classes.
No AI was used in the creation of the code, text or images in this article.