

Foundations of Pygame Part 1

You might be thinking “Chris, does the world really need another Pygame Tutorial?” I can’t deny there’s an overabundance of them but in my opinion they are all too often of the “get you up and running ASAP” type and fail to establish firm foundations on which you can build. My aim with this series is to set up from the very beginning an architecture which you can extend to any level of complexity, hence the title Foundations of PyGame.
It is possible to write a simple Pygame program in a purely imperative way as just a list of statements with an event loop and no functions, even main. While such code might fulfil a “get you up and running ASAP” brief it would be very difficult to expand on it without getting tangled up in the dreaded spaghetti code. Unfortunately too many PyGame tutorials take just this approach.
Splitting the code out into main, event loop and event handler functions (plus a few more utility and game logic functions where necessary) goes a very long way to rectifying the imperative programming problems, and you could write a perfectly good game this way which would be straightforward to maintain and enhance.
However, for this series I will build even firmer foundations from the very start by making my code purely object oriented. It would therefore be useful to understand the basics of OOP in Python but I think you should be able to follow the code if you don’t.
The code for Part 1 consists of a class which sets up a Pygame environment, runs an event loop and handles a few mouse and keyboard events.
In Part 2 I’ll show how to draw text and shapes in the window.
Part 3 will demonstrate how to draw and animate graphics files.
In Part 4 I’ll separate out the game logic to a separate class which has no Pygame-specific code and can therefore be used with any front-end framework such as Pyglet or maybe even Tkinter or PyQt.
PyGame
So I don’t have to write a description of Pygame I’ll just steal one from their website.
“Pygame is a set of Python modules designed for writing games. It is written on top of the excellent SDL library. This allows you to create fully featured games and multimedia programs in the Python language. Pygame is highly portable and runs on nearly every platform and operating system.”
If you already don’t have Pygame installed you can pip it like this:
python3 -m pip install -U pygame --user
The Project
This project consists of a single file called pg01.py which you can find in the GitHub repository for this series of articles.
The Code
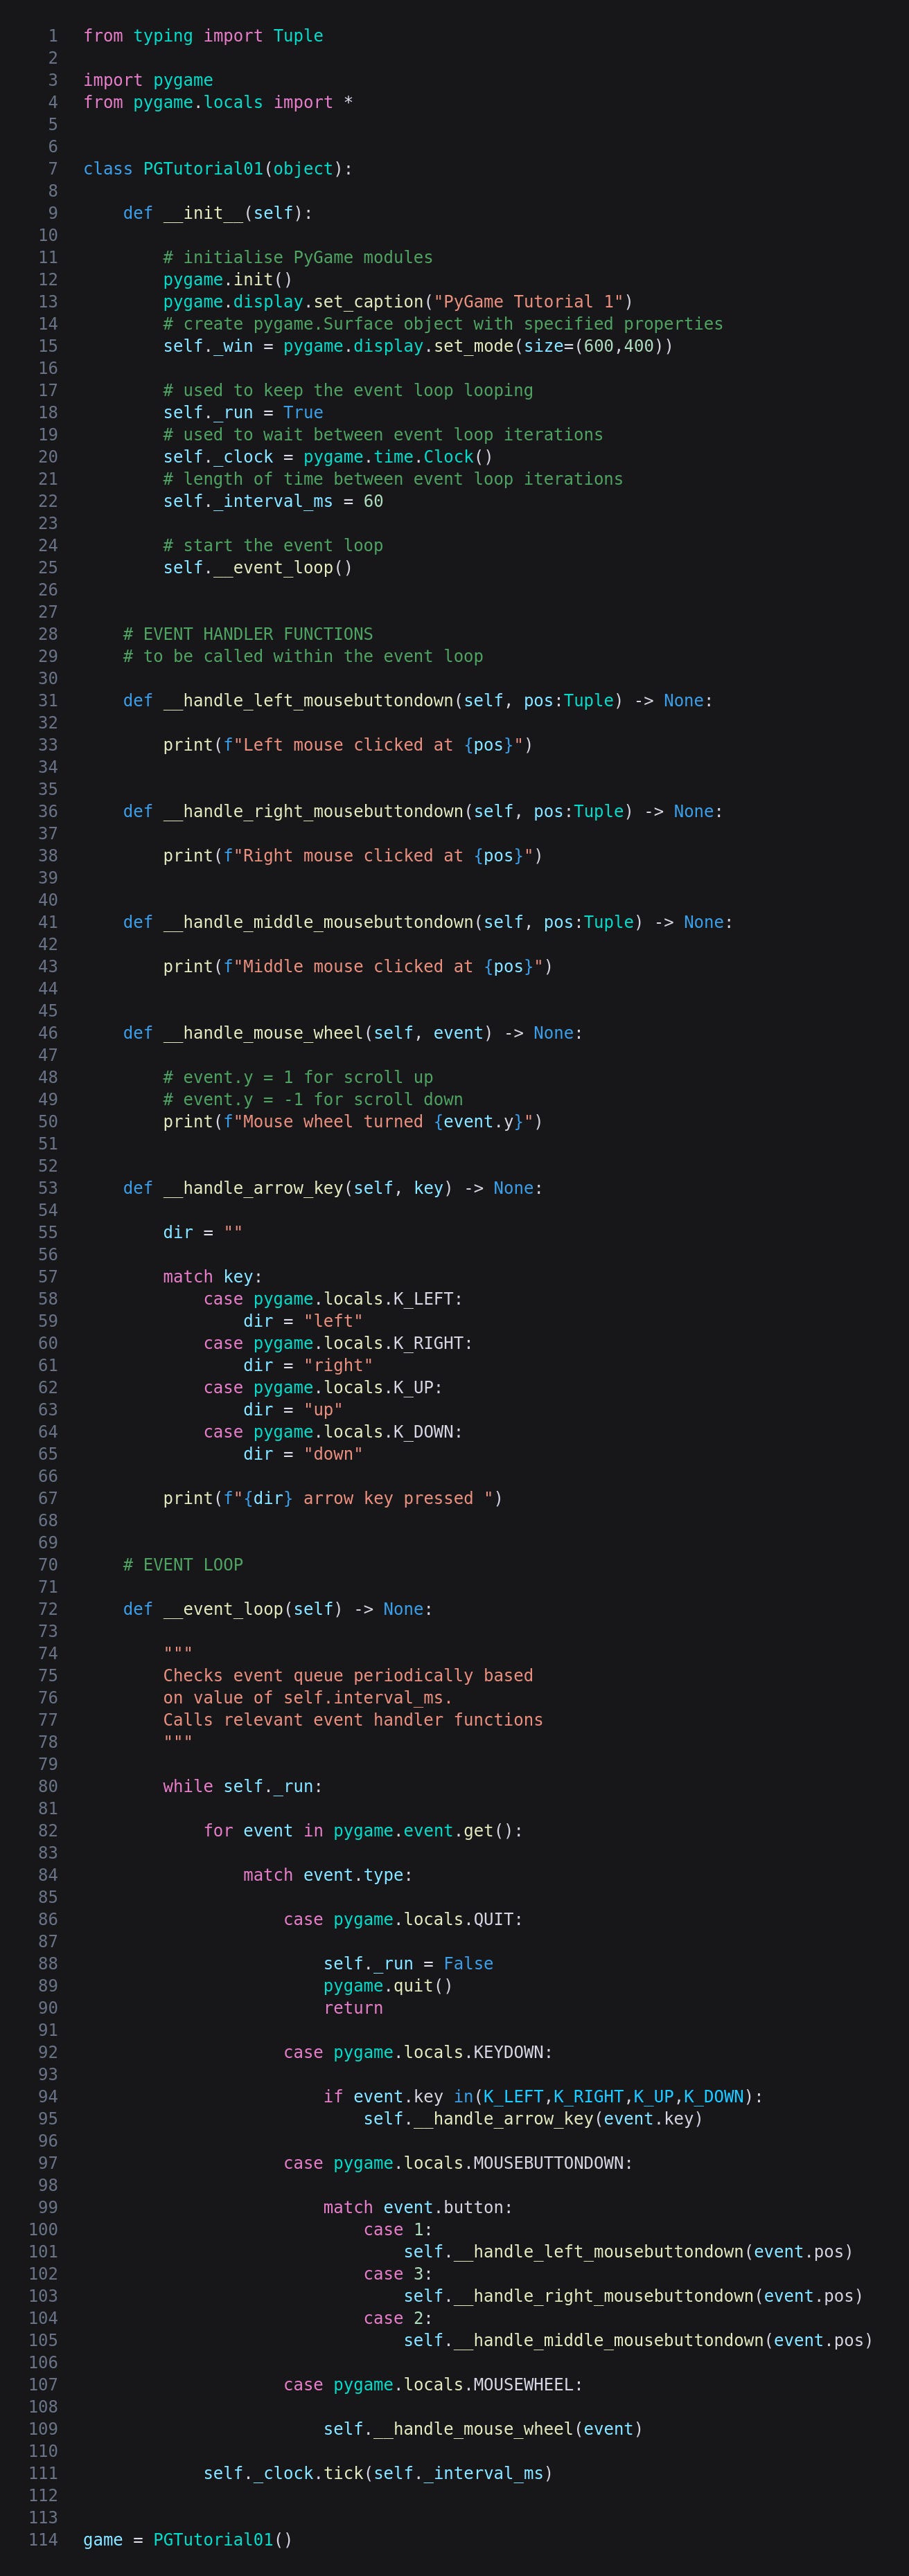
This is the whole of pg01.py.
Imports
Not surprisingly we start off by importing pygame, and I have also imported pygame.locals which isn’t absolutely necessary but makes some of the code more concise as I’ll demonstrate in a moment.
__init__
In object oriented programming all the variables and code relating to a particular type of “thing” are collected together into a class. A “thing” can represent a physical object such as a product, an abstract concept such as an order or transaction, or part of the software itself such as, in this case, a Pygame window. The class is just a design or template, and it is necessary to create instances of the class, also called objects.
OOP languages usually provide for a special function which is called when a new object is created. In general this is referred to as the constructor and in Python is called __init__. As you can see __init__ has a parameter called self which is the brand new object which Python creates and passes as an argument.
You can do anything you like in __init__ but its central purpose is to create variables needed within the object and run any code necessary to prepare the object for use. In this case we initialise all Pygame modules, set the window title and create a window of the specified size. The code self._win attaches the new window returned by set_mode to the object for later use.
The next three lines also attach variables to the self object; the first is a Boolean for use in the event loop, the second is an instance of the Clock class which Pygame provides for us, and the third is just an integer controlling how often the event loop checks for events.
Finally we just need to call a function to start the event loop.
Event Handlers
These five functions are for handling various types of event and currently just print out something appropriate. The first three are for mouse clicks and take tuples containing the x,y coordinates of the click. The mouse wheel function takes an event object which includes a y property telling us the direction the wheel has been turned.
The key event handler is a bit more complex as it needs to handle the four arrow keys which I have done using a match/case construct. I imported pygame.locals to avoid having to type out stuff like pygame.locals.K_LEFT but due to the complexity of Python’s match/case pattern matching we need to here. Oh well! As you can see the dir string is set to the relevant direction and a message printed.
In some OOP languages variables and functions can be made private and thus completely hidden from calling code. Python doesn’t have this feature but by convention starting anything with _ or __ is regarded as a warning that it is intended for internal use only. You might have noticed that the variables in __init__ start with _, and the event handlers start with __.
The Event Loop
Right, now we get to the heart of the program, the event loop. Such a loop is actually the heart of any desktop application: start a browser, spreadsheet or whatever and it just sits there waiting for you to type something or click on something. When you do it carries out the relevant action and then waits for you to do something else, potentially for an infinite time.
What we have here is a while loop, the exit condition being the Boolean _run created in __init__.
When the user does something Pygame puts the details of that something into a queue. Each time the event loop loops we iterate the queue and do whatever is necessary to respond to each event. (Calling pygame.event.get() also removes each event from the queue so we don’t handle them again which would be catastrophic.)
How each event is handled depends on its type. Whatever else you do it is essential to handle QUIT or the user will be stuck with an unquittable program however frantically they click the X. Here we set _run to False to stop the loop, call pygame.quit() to close the window, and return from the __event_loop function.
The next three event types might not be needed for every game - you could have a keyboard-only or mouse-click only game. (Let me know if you can think of a mousewheel-only game!)
In the KEYDOWN case we can at last avoid typing pygame.locals.K_LEFT etc., and having checked whether the key is one of the arrows we call the appropriate event handler.
For MOUSEBUTTONDOWN we need to check the button property: note the numbers corresponding to the three buttons, and that we pass the position property to the handlers.
The last case is MOUSEWHEEL which we just pass on to the relevant handler.
After iterating and handling the latest batch of events we call the clock’s tick method with whatever interval has been hard-coded. This just tells the program to do nothing for a while before the next iteration of the loop.
Creating a Class Instance
As I mentioned the class is a template and does nothing until an object is created from it. The final line does just that, after which Python calls __init__ and things start rolling.
(It is very unusual and actually quite weird to create an instance of a class in the same file as the class itself. I could have done this in a separate file which would then have just one line, also a bit weird!)
Running the Program
Enter this in your terminal to run the program.
python3 pg01.py
This is the window.
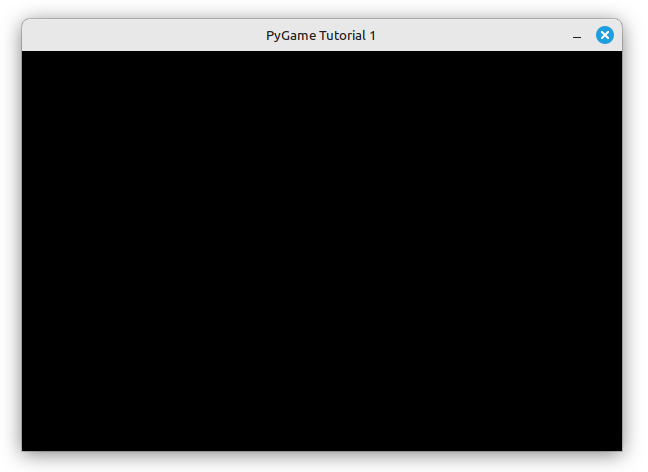
If you press an arrow key, click a mouse button or move the mouse wheel you’ll see the relevant message in the terminal.
I can’t honestly claim this is the most exciting game ever and if I did you probably wouldn’t believe me. However, programming a game basically consists of receiving player input from the mouse and keyboard, and providing output to the screen. We’ve now accomplished the first of these and in Part 2 I’ll show how to draw simple shapes (lines, circles, rectangles etc.) and in Part 3 we’ll draw and animate graphic files.
No AI was used in the creation of the code, text or images in this article.