

Reading EXIF Data with Python and Pillow

Pretty much any smartphone, tablet or digital camera embeds EXIF data into each photograph it takes, with details of the device itself as well as the individual photo. And just about every piece of software which can display or edit digital images can read and display that data. Or at least attempt to...!
Unfortunately EXIF is not easy to deal with. It would be nice if the data consisted of a string of XML or JSON so that it could be handled using ubiquitous techniques and libraries, but the format itself is rather quirky, made worse by inconsistent implementations by different manufacturers and sometimes different devices from the same manufacturer.
You may have noticed that sometimes even popular mainstream software fails to show sensible interpretations of some EXIF data. Despite that I will have a bash at extracting the EXIF data from images using Python and the Pillow library.
The Project
The Image module of the Pillow library for Python includes a method called _getexif. This returns a dictionary of EXIF data with the keys being numeric codes and the values being in various formats which are not always human-readable.
To obtain something suitable for display to users we therefore need to do a bit of work on this data:
Obtain the names corresponding to field codes. Pillow provides most of these in the dictionary PIL.ExifTags.TAGS
Process the data items which are not human readable in some way to make them so
In this project I will write a module with a method called generate_exif_dict. This takes a filename argument and returns a dictionary with textual fieldnames as keys and values which have been processed into some format you might want to let users of your software see.
The solution I have come up with is far from perfect; these are the main imperfections I am aware of:
Not all tags in PIL.ExifTags.TAGS may be present in an image’s EXIF data (PIL.ExifTags.TAGS has 268 items but my image only has 50 of these)
Not all tags in an image’s EXIF data may be in PIL.ExifTags.TAGS
Some data may be in proprietary formats not published by manufacturers and therefore of no use to anyone else
I have only attempted processing of the more common and useful tags - the more obscure ones have been left as they are
The module was developed around photos from cameras I have personally used: Nikon, Olympus, Lumix and Fujifilm. Photos taken on cameras or devices from other manufacturers might give inconsistent results
Starting to Code
This project consists of the following Python files which you can clone/download from the Github repository. You will also need an image that has EXIF data in it and the repository includes one of mine, DSC_0502.jpg, but by changing the filename in the code you can use one of your own photos.
exif2.py
exifdemo.py
I wrote an earlier version of this code back in 2020 and the then-current version of Pillow returned some numeric values as pairs of integers representing the numerator and denominator of a fraction. For example an aperture of f8.0 was returned as (80,10) requiring a bit of arithmetic to convert it to something more familiar. The latest version of Pillow does that for us so the code in this article is significantly shorter and simpler but the original module, exif.py, is still in the Github repository.
This is exif2.py.
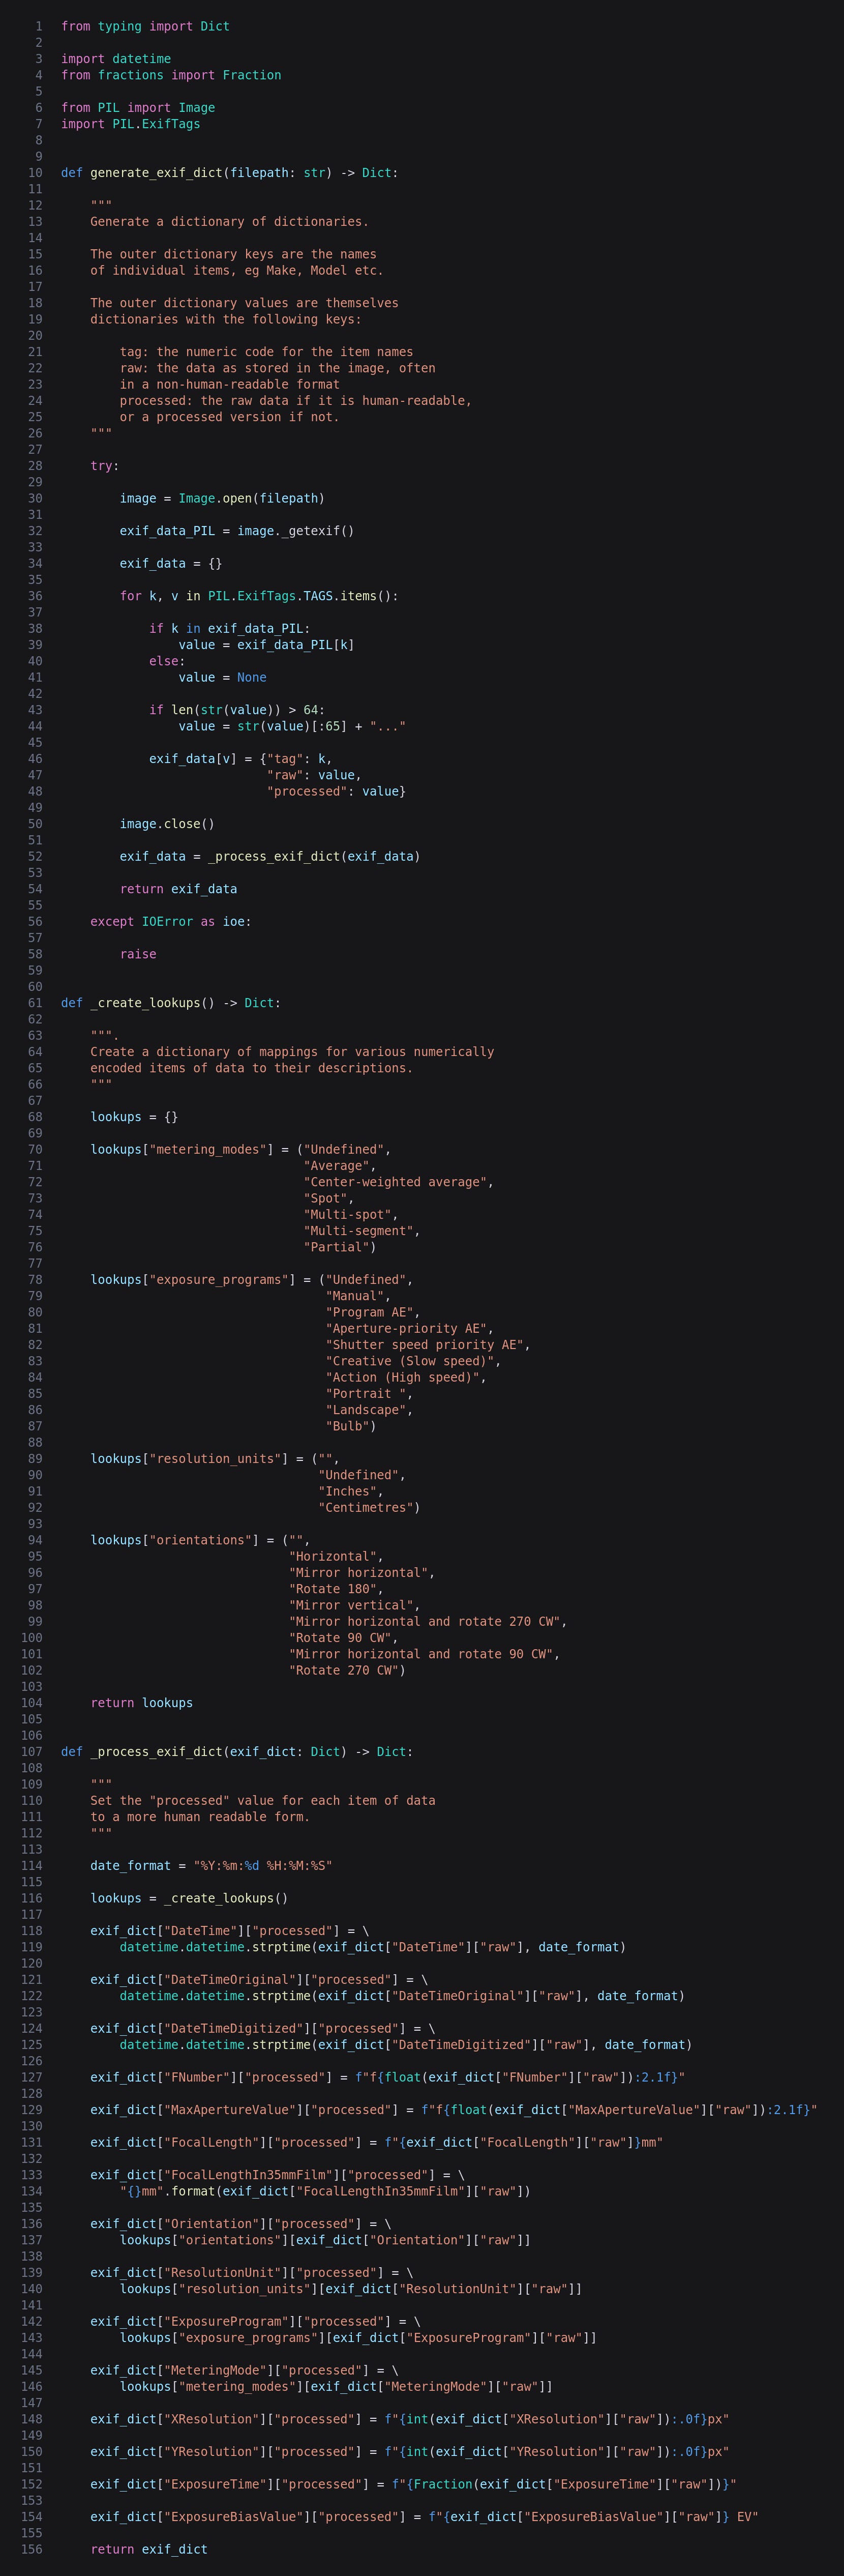
generate_exif_dict
After opening the image with Pillow and grabbing its EXIF data with _getexif() we create an empty dictionary. We then iterate PIL.ExifTags.TAGS and if the key also exists in the image data we store it in the value variable, otherwise value is set to None.
Some EXIF data can be very long, for example the MakerNote, so any data longer than 64 characters - an arbitrary amount - is truncated and an ellipsis added.
An item is then added to the exif_data dictionary, the key being the value from PIL.ExifTags.TAGS (ie the name such as Make or Model) and the value being a dictionary containg the tag number, the raw value and the processed value. The processed value is set to the same as the raw value but some will be changed later.
Finally we pass the completed dictionary to _process_exif_dict to overwrite some of the processed values to a more human-friendly format.
_create_lookups
Some values are encoded as an index, for example MeteringMode can take a value between 0 and 6. The textual equivalents are added to a dictionary as tuples so that we can retrieve them using the encoded values as indexes.
The first two start at 0. Fine. The second two start at 1. Hmm . . . ! I have padded these with empty strings.
_process_exif_dict
After creating a date formatting string and a lookups dictionary the following processing is carried out:
The 3 dates are strings so are converted to actual dates, although they look identical when printed
FNumber is prefixed with the letter “f”
MaxApertureValue is processed in a similar way. Additionally zoom lenses with variable apertures may give us many decimal places so the processed value is formatted to just 1dp
FocalLength is suffixed with “mm”
FocalLengthIn35mmFilm is also suffixed with “mm”
Orientation, ResolutionUnit, ExposureProgram and MeteringMode are all set from the lookup dictionary as described above.
ExposureTime (ie. shutter speed) converted to a Fraction object so is displayed as “[numerator]/[denominator]”, eg. 1/250.
ExposureBiasValue (better known as exposure compensation) is suffixed with “EV”, or what I would refer to as stops.
That’s all the processing for now. At a later date I’ll revisit the code and add processing for a few more fields. Please feel free to fork the repository and apply your own processing, especially if you are not happy with the results from images taken on your own camera or phone.
Now let’s write a short program to use the above module and print the results.
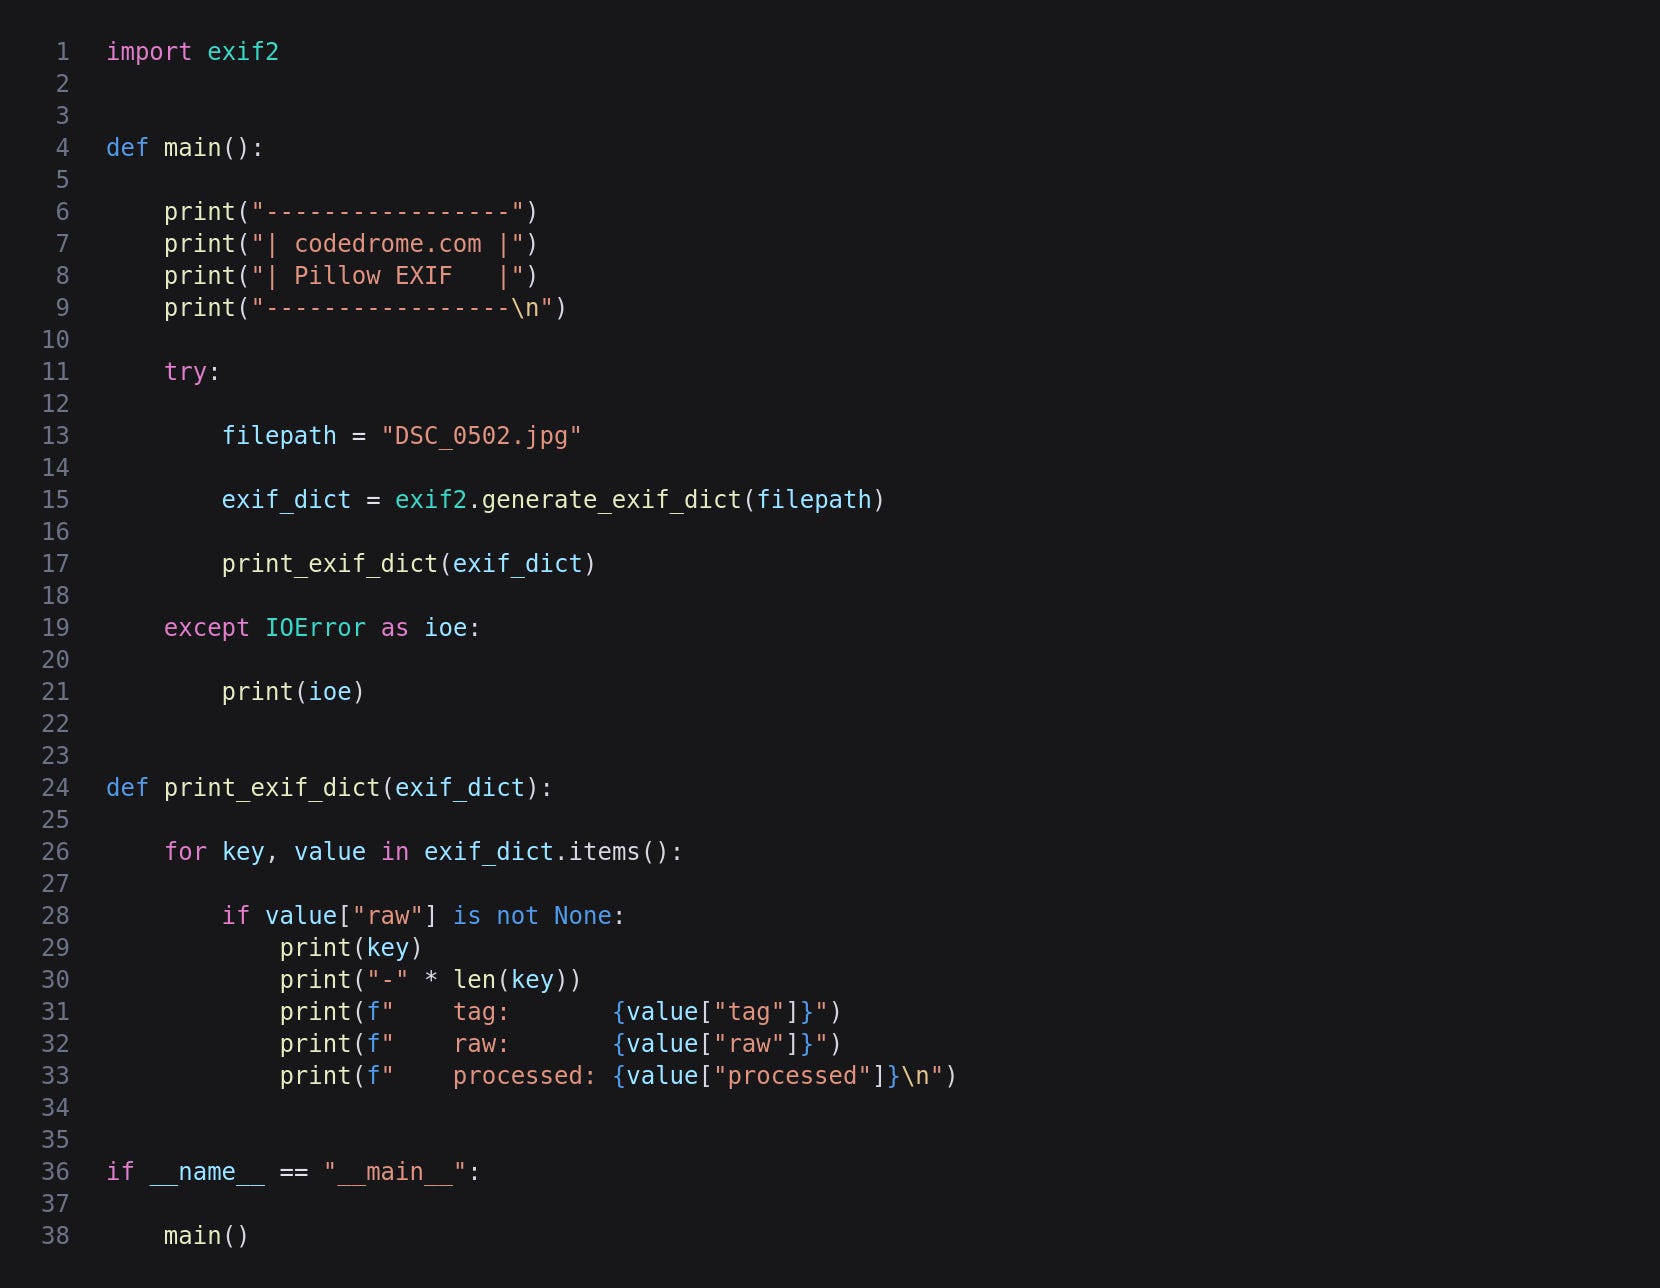
This is all very straightforward - we just call exif2.generate_exif_dict and pass the result at the print_exif_dict which iterates the dictionary, printing each name as a heading and then the tag number, raw value and processed value.
Running the Program
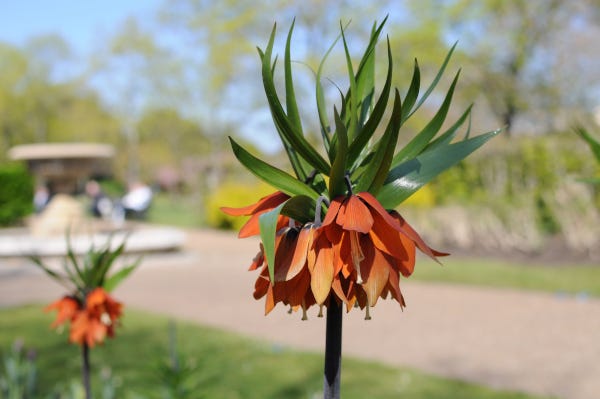
Now we can run the program with the command below. I am using the full sized version photo at the top of the page but just change the filename if you want to use your own.
python3 exifdemo.py
This will give us the following output.
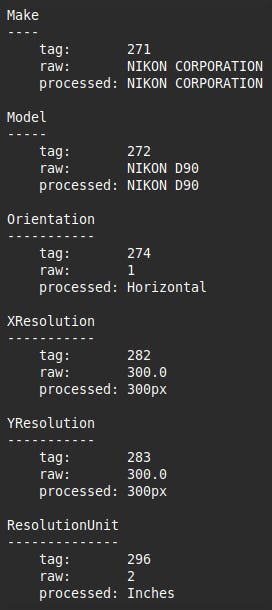
This is a truncated version of the output. My photo has 50 pieces of EXIF data but the output shown here is only the top handful. If you use a photograph from another camera manufacturer you will probably see some differences in the fields displayed.
For updates and random ramblings please follow me on Bluesky.
No AI was used in creating the code, text or images in this article.